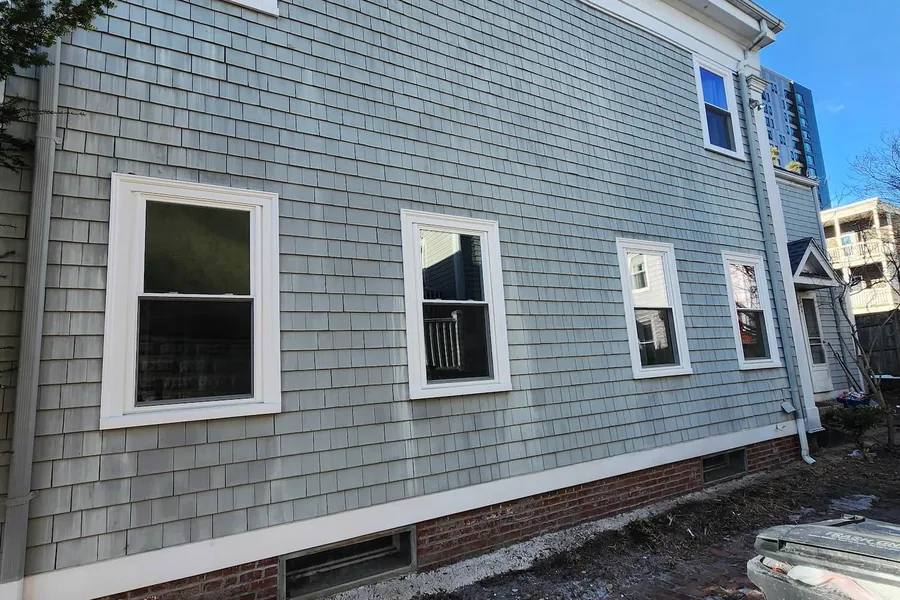
When homeowners notice peeling paint, loose panels, or a soft spot near a window trim, they usually think the siding itself is the only problem. But siding is just the first line of defense. In coastal southern New England, what sits directly behind your siding determines whether your walls stay bone dry or slowly rot out over five years of harsh weather.
Building scientists point out that all exterior claddings pass some rainwater.[1] Whether your home has traditional cedar clapboards, vinyl lap siding, or composite panels, water will find a way through the joints during heavy weather.[1]
Along Buzzards Bay, Narragansett Bay, and the south coast of Massachusetts and Rhode Island, wind-driven rain is the single largest source of moisture hitting your walls and roof.[2][4] When a coastal storm pushes 40 to 50 mph gusts against your exterior, water is driven into lap seams, corner posts, and window casings.[2]
Here is how a proper exterior wall system actually protects your home, what happens when old barriers fail, and what to check before late fall rains begin.
1. The real water barrier: your drainage plane
Most homeowners assume siding forms a completely waterproof seal. In reality, modern building design relies on a screened and drained wall assembly.[2] The siding acts as an exterior rain screen, while the weather-resistive barrier installed against the wood sheathing functions as the true drainage plane.[1]
This layer, typically high-grade synthetic housewrap or sealed barrier board, repels liquid water while allowing indoor moisture vapor to escape.[1] When driving rain gets past the lap siding, it runs down the face of this barrier and drains safely out through weep holes and bottom trim flashing rather than soaking into plywood sheathing or wall framing.[1][2]
If an older home has torn tar paper, missing wrap, or unsealed seams, water gets trapped against the wood sheathing. Over time, that trapped moisture leads to wood rot, mold growth, and damaged wall insulation.
2. Window and door head flashing: where most leaks start
The most vulnerable spots on any home exterior are the openings. Windows, exterior doors, and deck ledger boards interrupt the continuous drainage plane of the wall.[2]
When we strip failing siding off homes in Bristol County, we routinely find rotted framing right above window headers. That happens when installers skip rigid metal head flashing (drip caps) or cut corners by taping over un-flashed joints.
Building standards require waterproof metal or rigid composite flashing above every window and door opening, sloped outward to shed water away from the wall cavity.[2] Extending head flashing past the window jambs ensures that runoff flows clear of the vertical trim rather than running down behind the side casing.[2]
3. Air sealing and insulation beneath new siding
Replacing old siding gives you a rare opportunity to address the wall envelope itself. Once old clapboards or weathered vinyl come off, the bare sheathing is fully accessible.
The U.S. Environmental Protection Agency notes that sealing exterior air leaks and upgrading insulation can reduce annual heating and cooling costs by up to 10%.[3] Taping sheathing seams, foaming gaps around window rough openings, and adding continuous exterior foam board insulation stops cold winter drafts before new siding goes on.[3]
In our regional climate, where winter winds drive cold air through older plank sheathing, that extra layer of exterior insulation keeps the wall framing warmer and prevents indoor humidity from condensing inside the wall cavity.[1][3]
4. Signs your siding assembly needs attention before winter
You do not need to wait for a nor'easter to find out if your exterior is leaking. Walk around your home and look for these warning signs:
- Soft or swollen trim boards: Poke the wood trim under windows, corner boards, and fascia with a screwdriver. Soft wood indicates water is getting behind the siding.
- Rippled or buckled siding panels: Siding that bulges or pulls away from the wall often points to warped, damp sheathing underneath.
- Interior paint peeling near exterior corners: Moisture inside the wall often bubbles drywall paint or discolors wallpaper long before water pools on the floor.
- Missing or flat drip caps over windows: If there is no visible metal z-flashing above your windows and doors, water running down the siding is draining straight into the window frame.
5. Planning an exterior evaluation
If your siding is over twenty years old, or if you suspect water is getting behind the panels, a thorough exterior inspection is the safest first step.
When Souza's NE Building assesses a home: we check the condition of all window and door flashings; we inspect corner posts, soffits, and fascia for signs of hidden moisture intrusion; we evaluate sheathing integrity and discuss siding options, from heavy-gauge insulated vinyl to fiber cement and composite trim; and we provide a clear, itemized quote detailing the exact weather-resistive barrier, flashing details, and installation timeline.
Call Souza's NE Building at (774) 946-9390 or contact us through our website to schedule an exterior walkthrough before winter storms roll in.
Sources
- [1] BSD-105: Understanding Drainage Planes — Building Science Corporation — https://www.buildingscience.com/documents/digests/bsd-105-understanding-drainage-planes
- [2] BSD-013: Rain Control in Buildings — Building Science Corporation — https://www.buildingscience.com/documents/digests/bsd-013-rain-control-in-buildings
- [3] Seal and Insulate with ENERGY STAR — https://www.energystar.gov/saveathome/seal_insulate
- [4] National Weather Service Boston / Norton, MA Forecast Office — https://www.weather.gov/box